

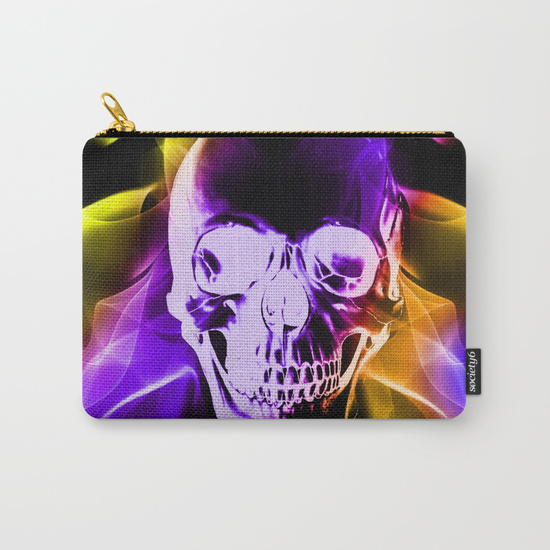
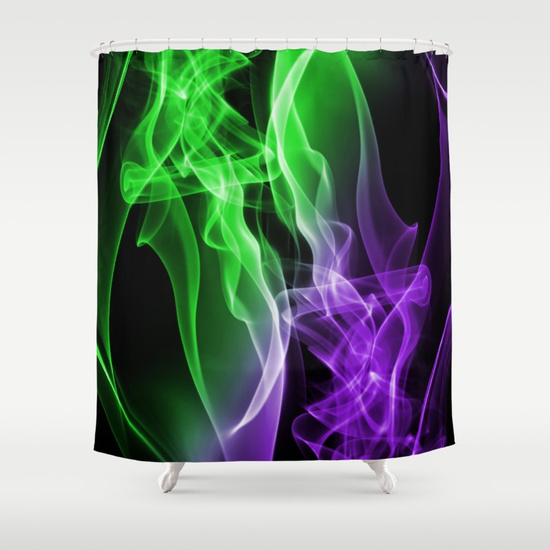
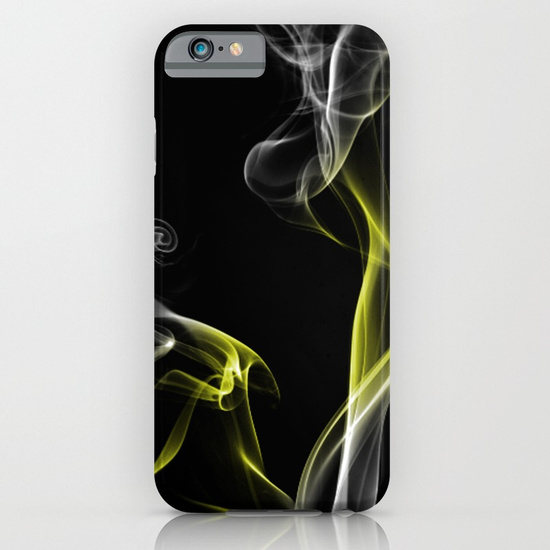
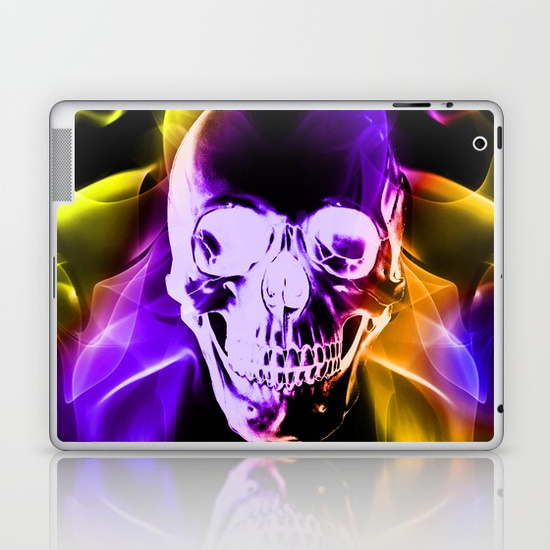
Today’s YouTube Photoshop video tutorial is about a smoke overlay image. This is another quick and simple tutorial for abstract design for likes of a covers, book marks, book covers, backgrounds or a good tool if you have Redbubble, Society6 any of those online stores.
First you will need to open up a blank image, I have a preset image that I will be using that is 2048 pixels squared, it’s up to you what your image dimensions will be, I’m using this for this tutorial.
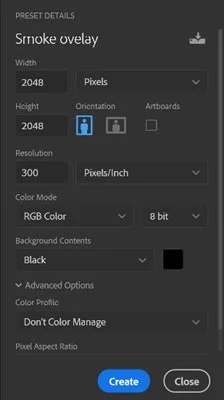
If you have the latest Photoshop you can select the starting background contents colour as black, Then press create.
Once that’s opens we now need to create a new layer and open up our brushes and select a smoke brush from your tools, If you do not have smoke brushes you can get them from my Patreon page -Smoke Brushes reward. Once you have selected the brush you want enlarge to the full size of the canvas make sure your brush tool is set to white and click once.

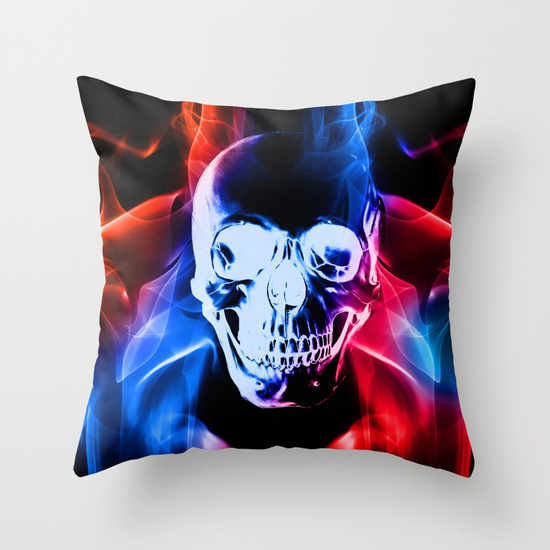
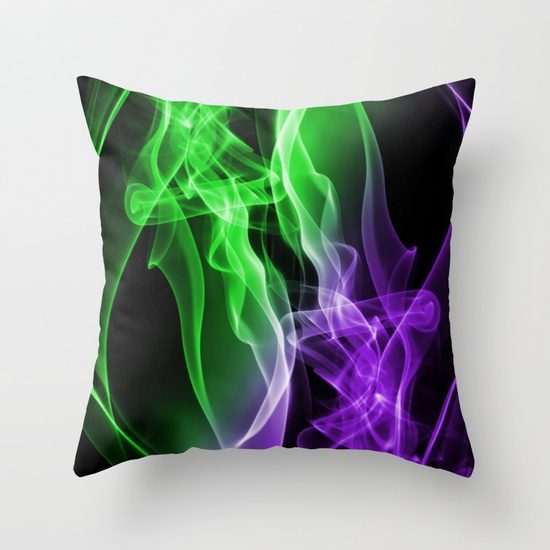
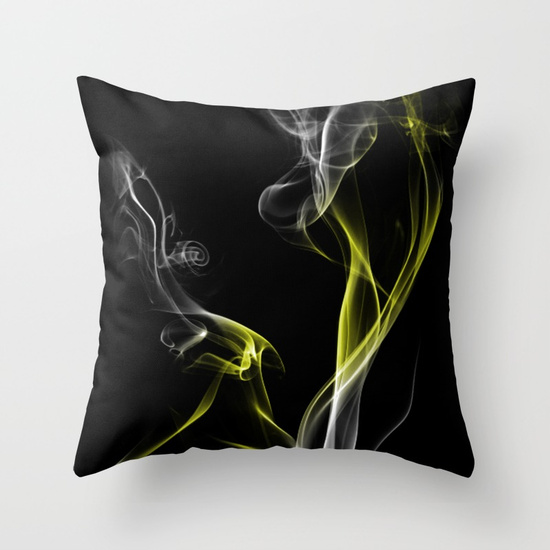

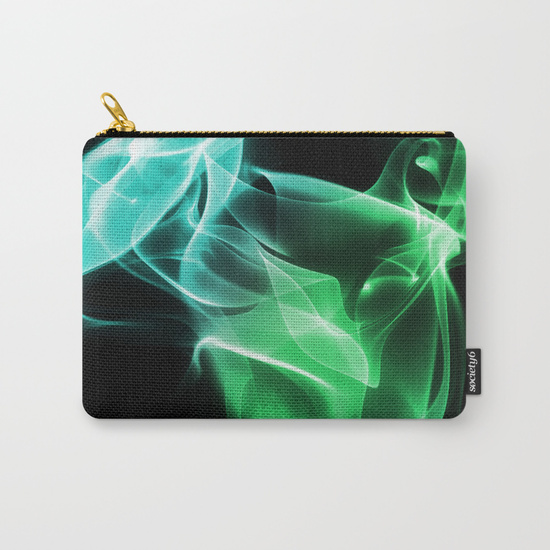
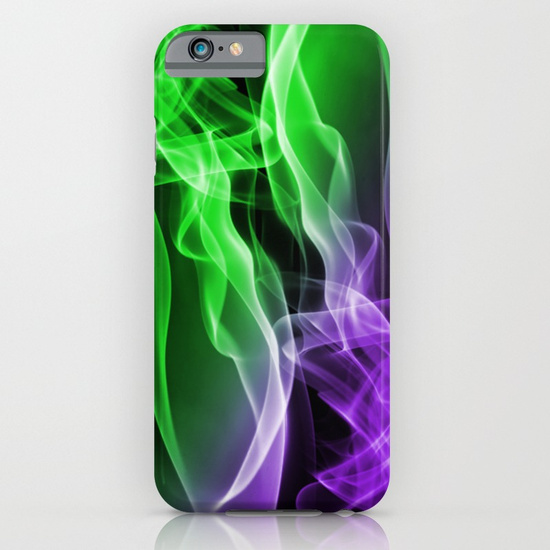

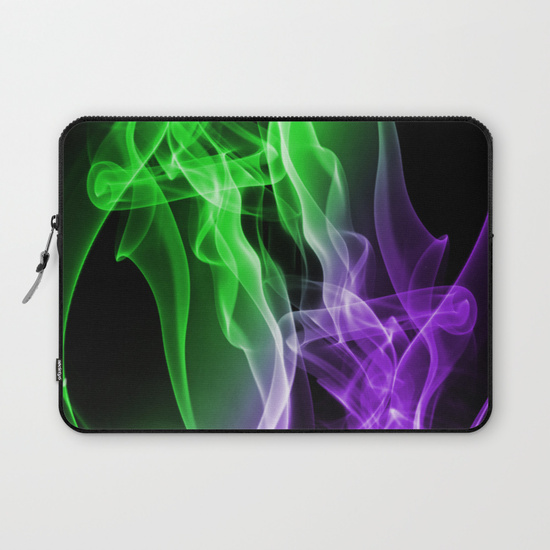
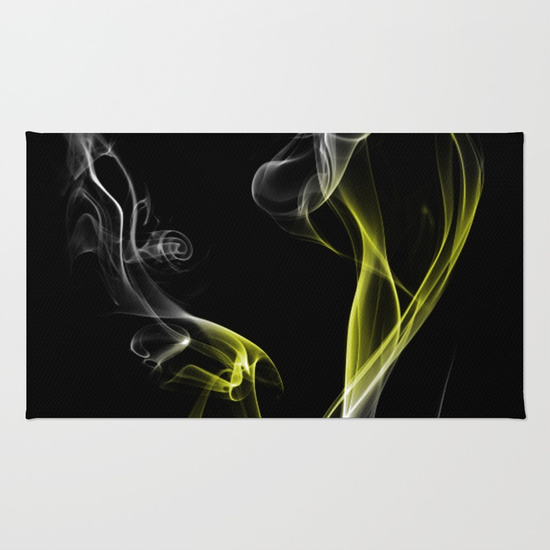
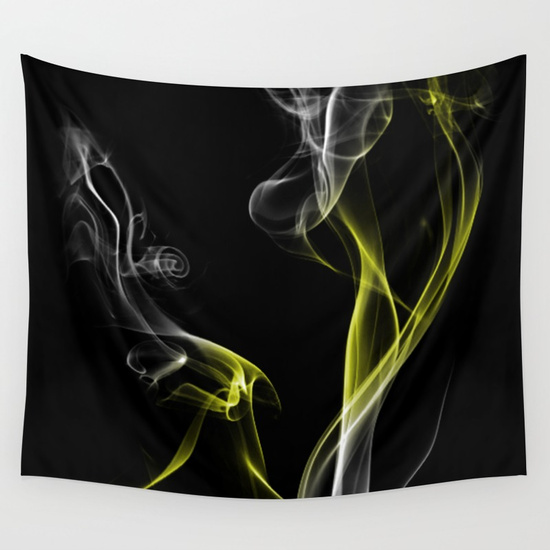
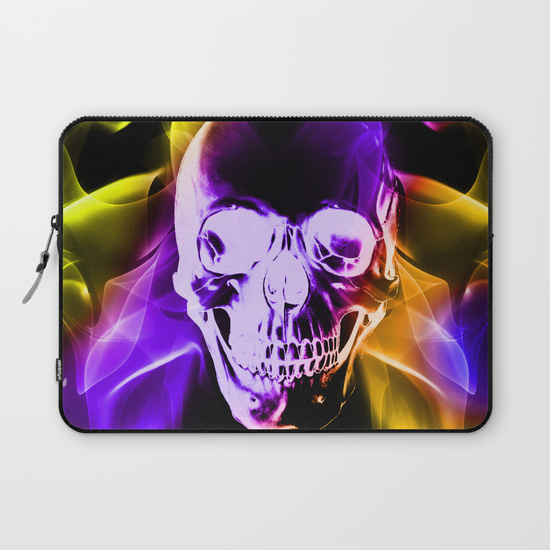
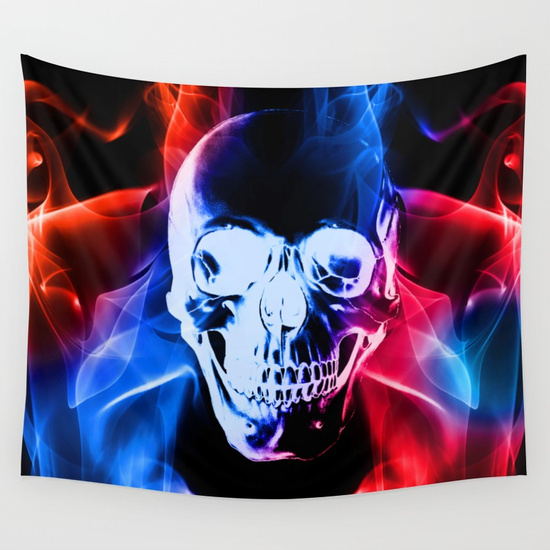
Now we need to open another layer, this is where the fun is select the first colour you would like to use, there’s no limits on how many you can but I’m only going to use two (2) colours select a soft round brush and cover half you canvas, then select the next colour and cover the other half of the image.
Now, all you need to do is change the layer blending mode to overlay.

Did you like this article? Want to continuing to improve your skills, learn tips and tricks while getting rewarded and find out who A'Dryl is, You can on my Patreon.