
Not all artists are natural-born photographers. Photography can seem really technical and overwhelming for many of us. NEVERLESS every artist should record their work someway. I think it’s always good look back on your work and sometimes it’s even better to be able to print off some prints for sale or give to a family member or friends. Plus getting good image of your artwork for displaying on social media sites or websites can mean the difference of selling or not selling your work!
Now with the ease of digital cameras these days, we are able to document our artwork ourselves and save money for not having professionals photographing every piece that we create and minimizes the risk of damaging them in transport. Tho before we get started taking pictures, there are a few basic things you should know about the camera, equipment, lighting etc..

CHOOSING THE RIGHT EQUIPMENT WORKS WONDERS ON THE FINIAL PRODUCT
Camera: Firstly, there are many types of cameras to choose ranging from an inexpensive Point & Shoot for about $100 or to an all-out expensive DLSR (digital single-lens reflex) you can even use your mobile phone these days. Tho you need to do your homework and find the one that will serve you best for now and into the future for what you are trying to achieve.
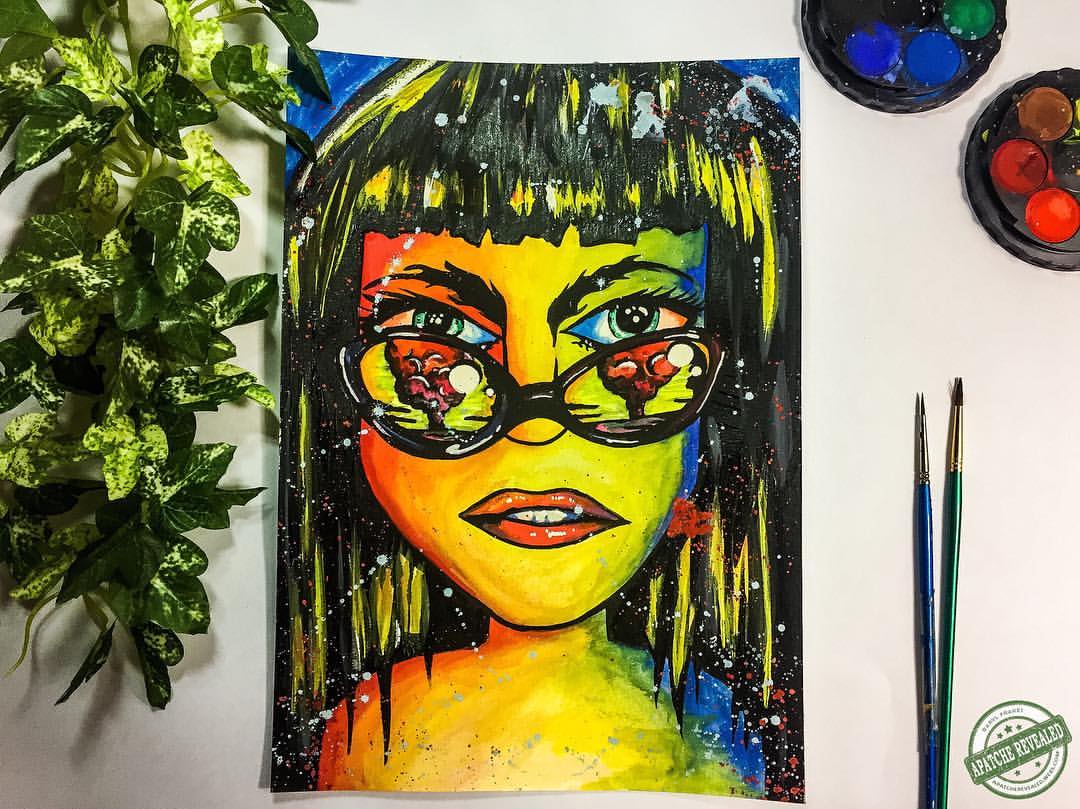
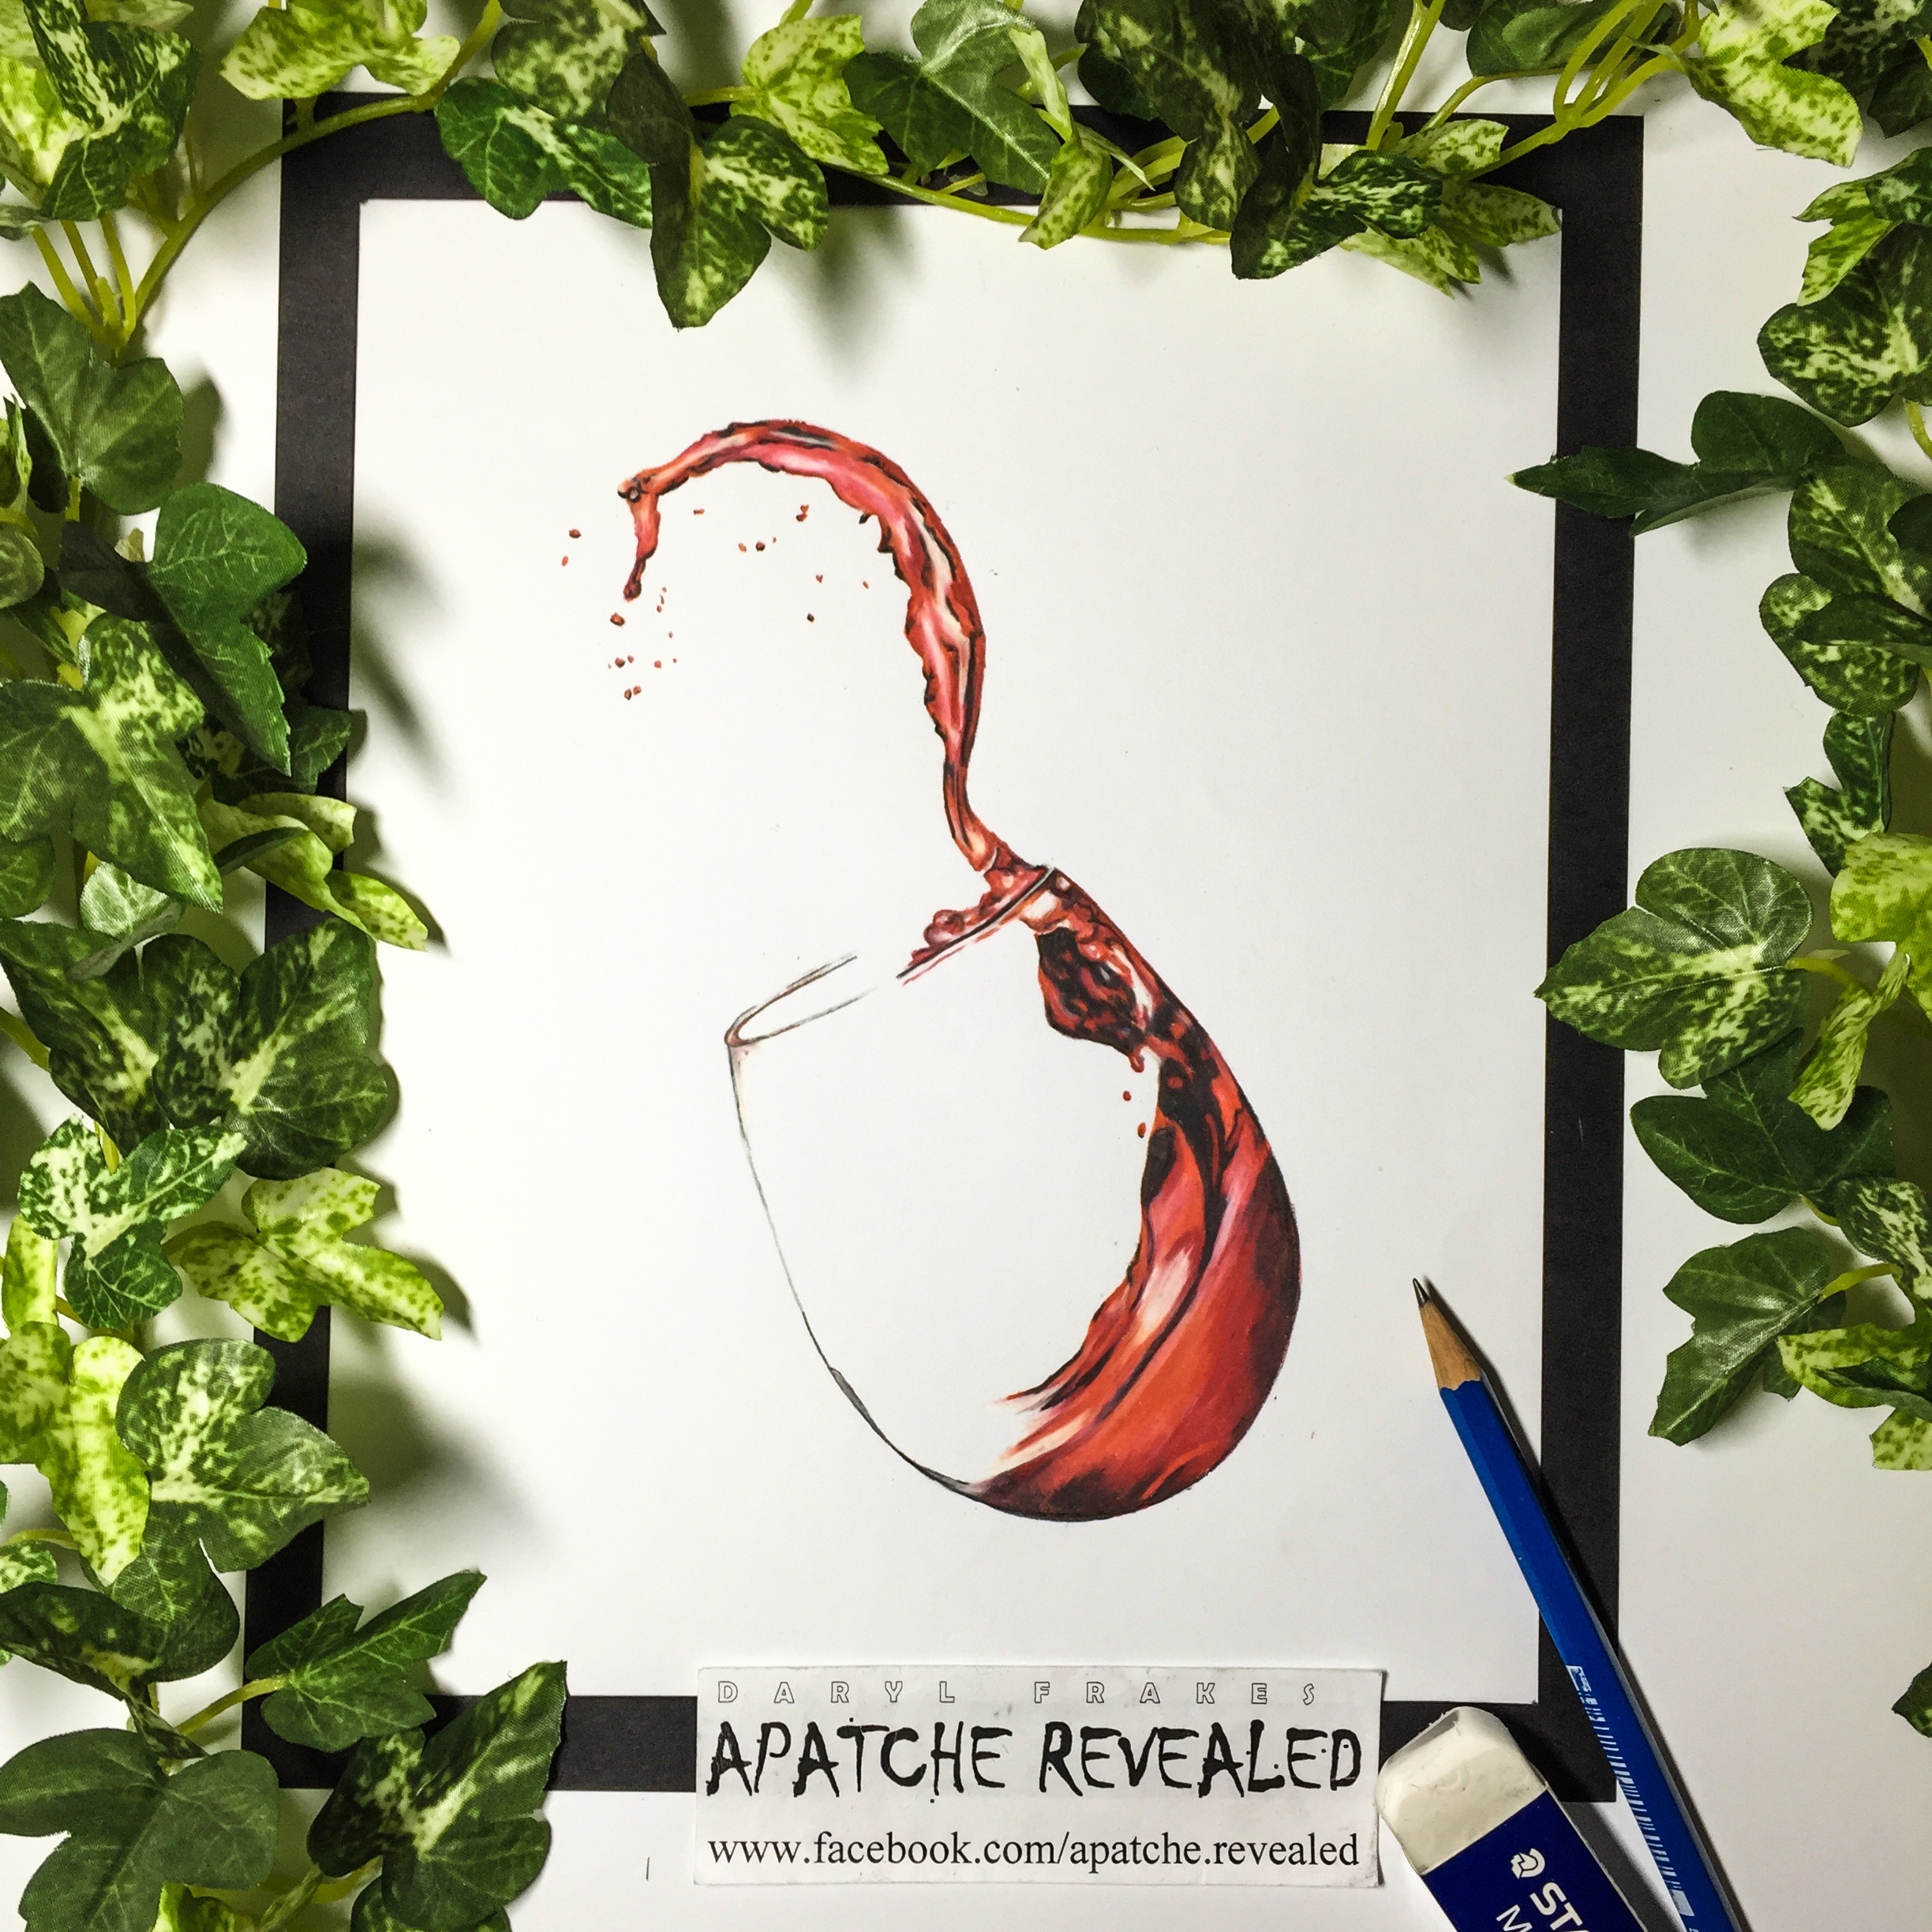
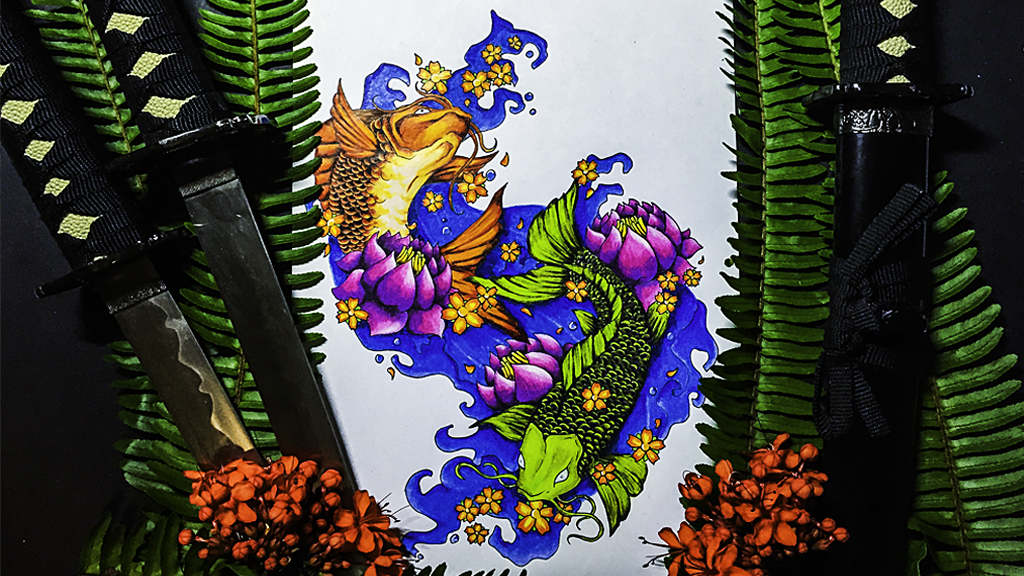
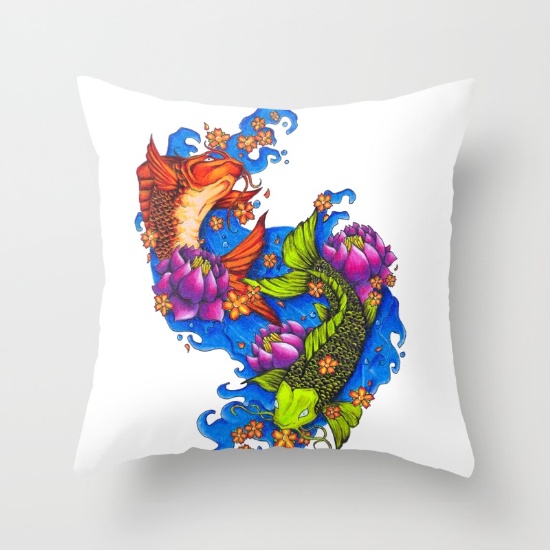
I’m using three cameras well sort of, my iPhone 6, (8 megapixels) and a Nikon D5100 (16.2 megapixels and a sensitivities range up to ISO 6400) Nikon D610 (24 megapixels and a 6016 by 4016 pixel range) I use my iPhone 6 which allows me to take photos to display my work on the likes of Instagram and Facebook when on the run. Taking a photos for these sites you should think about displaying them make you piece that center of attention like adding some pencils, flowers, swords, cups of tea, books, etc ..anything you have around the house to decorate the edges of the photo, this took me a while to understand but it does bring another element into you overall photo and surly makes it standout. But keep in mind we need to take an original photo of our artwork by its self to be reproduced, edited digitally and saved for future use.
With saying all that I know that we all LOVE to show of our work as soon as we finish, However it is always better to sit back and enjoy, think about how you want to display your piece on your sites, really think what time it is right now if you finish a piece at 3am and post it online, good chance most of your friends or followers are asleep and won’t see it best to wait for the next day or find that sweet spot of time so it maximize expose plus gives you time for a few touches after seeing your work with a clear head the next day and your photo will be clean and crisp.
Tripod: The most common cause of a blurry photo is the shakiness of the hand when hold the camera without a tripod for best results in large work it’s better to have a tripod. When buying a tripod, make sure to check for stability cheapest isn’t always best in this case. You want to trust it with your camera also can it hold your camera’s weight? also is it a good height? I have a Manfrotto a compact advanced 3-way head, great stability and accuracy in framing my subject and reaches a height of 2.5 meters it has been a GREAT tripod over the years. Sometimes it’s great to also have a trigger remote so you’re not bumping your camera when taking the photo.
Easels or a good backing board: Choose a sturdy easel (if you are a painter you would of course already have an easel) that will not blow over in the wind! Set your art securely on the easel I normally have the easel set at a 45 degree angle to the ground trying to keep my artwork from doing a face-plant! This angle will help you line up your art squarely with the camera on a top tripod set at 135 degree angle downwards. A good backing board if you are laying your image flat helps with framing and you will be able to move your display around for the best lighting effects.
Lighting? Outdoors or indoor lighting.. Experiment with different lighting conditions for your best results it does help to adjust your camera’s ‘White Balance’ if you are using a DLSR there’s setting for halogen, fluorescent or tungsten bulb, lamp, candle light. A bit research is also needed for shoot indoors light bulbs, and reflectors..
For outside, I’ve found that a cloudy day is best for taking photos outside cloudy mid-morning seems the most ideal. Afternoon light is second choice, tho the middle of the day is way too bright. I live in Australia though so I rarely get diffuse cloudy days…it’s pretty much blue skies from all day until the storm that comes from nowhere.. Also you need to worry about wind, Oh the wind... So that’s why I prefer to shoot indoors Ii have a few good daylight 150 watt halogen lamps, I’m not saying you should go out and grab the best but a well lit room with a desk lamp you can get a great result.
Things to look for: Is the light even all across the image? Any difference in lighting from one side of your work to the other will stick out like a sore thumb when you viewing the image later and is extremely hard to process.
Can you clearly see all the detail? If the light is too bright all the colours wash out. When the artwork is too dark it will lose a lot of detail when you try and brighten or darken in Lightroom or Photoshop later.
For paintings is canvas weave showing? Some of my paintings have perfectly flat areas of colour. If you catch the light on your painting on the wrong angle, then the weave of the canvas appears as tiny white highlights (cross-stitching) all over the photo. Defiantly not the effect you want. Try moving easel/artwork around a bit until the lighting is as even as possible and use reflectors to add more light if need be to hide the shadow.
Major one thing to remember is the image straight? You get the sides of the image as straight as possible. The straighter it is, the less you work in post processing.
WHAT CAMERA SETTING TO USE?
There are several camera “modes” in your DLSR’s you can use that determines how much thinking the camera will do for you. Most cameras offer fully manual to fully automatic. Unfortunately what camera settings to use? That is something you need to work out yourself.. if you’re using dark colours in your artwork you don’t want to be quick on the shutter, same with light colours don’t want the shutter opened for too long and the lighting unless I’m there, I’m sorry..
Check the cameras manual for the settings and practices finding the right setting for your camera and image or you can use auto mode.. Once you knock a few over you’ll get to understand what you should start with. I use full manual on my DLSR to be able to control the shutter speed, the aperture, white balance and the International Organization of Standardization (ISO) so I can get as close to the same as my image before doing slight adjustments in Lightroom or Photoshop. But I can say one thing no flash if you need a flash you best look for a better lit area first.
Photographing your art… for most people aperture range, exposure times, light sensitivities and shutter speeds are alien concepts, however, that doesn’t prevent you from making a relatively decent job on auto mode snapping your work from an iPhone or an inexpensive cameras for your sites, brochures even flyers to show your work, the real image can be seen at your studio or at your next art exhibitions. However TAKE LOTS OF PICTURES in the hope that one of them turns out to be ‘just right’.. You know what? They usually they do plus we are in a digital world these days, Digital cameras are pretty good at figuring out what to do on your behalf, and the software engineers out there who have worked hard to program your camera so we don’t really have to think too much about the process and the memory cards can hold a lot.
Use of Adobe Lightroom and Adobe Photoshop to fix up your photographs the Creative suite
I use both Photoshop and Lightroom for all manner of things. I’m sure you have seen some of my work?
They an essential item in my toolbox. Yes it’s expensive, but if you are doing this stuff on a regular basis it’s the software to have hands down. There are other cheaper programs that do essentially the same job though, but I love my Adobe Lightroom and Adobe Photoshop and I don’t really look at anything other programs because they works well for me.
When I’ve taken the photos of my images and look at them on the computer, generally I’ll need to do a few little things with them…
Crop and framing the image, Adjust the brightness, contrast and colour,
Create multiple versions at different resolutions for website and prints distribution,
Tweak anything that needs tweaking to make the picture look as brilliant as possible!
AND there we have it, these tips I’ve picked up myself basically by trial and error a lot of trial and error, so maybe I have saved you a bit of time just by reading this so you don’t have to go through the same trials and make the same errors as me and you have walked away with a little bit of knowledge.
Did you like this article? Want to continuing to improve your skills, learn tips and tricks while getting rewarded and find out who A'Dryl is, You can on my Patreon.
Every like, Comment and Sale helps this Artist continue his passion in what he loves.
BUY NOW or WATCH VIDEO